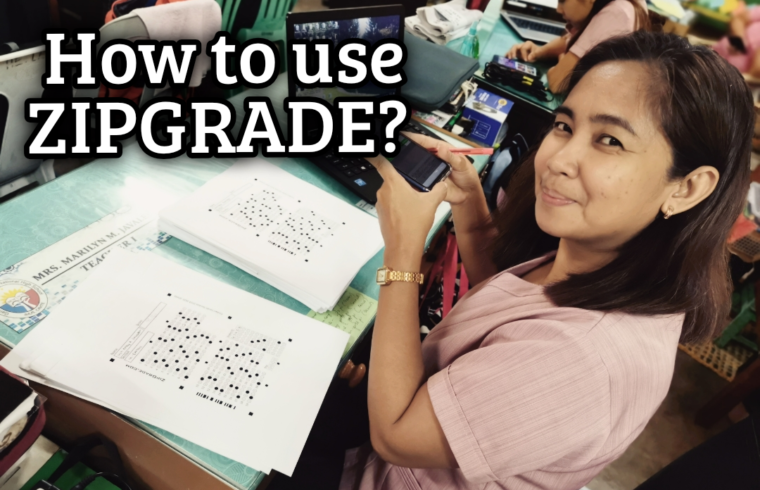
Teachers nowadays are finding it difficult or challenging to mark test papers, especially if you have a big number of students. ZIPGRADE could be the ideal solution to make checking multiple choice faster and effectively!
Zipgrade turns your mobile phone into an optical scanner making checking of multiple-choice exams faster. Literally, it was very fast! I could check over 100 test papers in less than an hour, and I could give the results to students the next day, which includes the item analysis.

This really makes the work of the teachers so much faster and easier. In this article, I am going to show you how to use Zipgrade. It may look complicated at first, but I am telling you, it’s very easy to use and once you get used to it, it will be very difficult to let go!
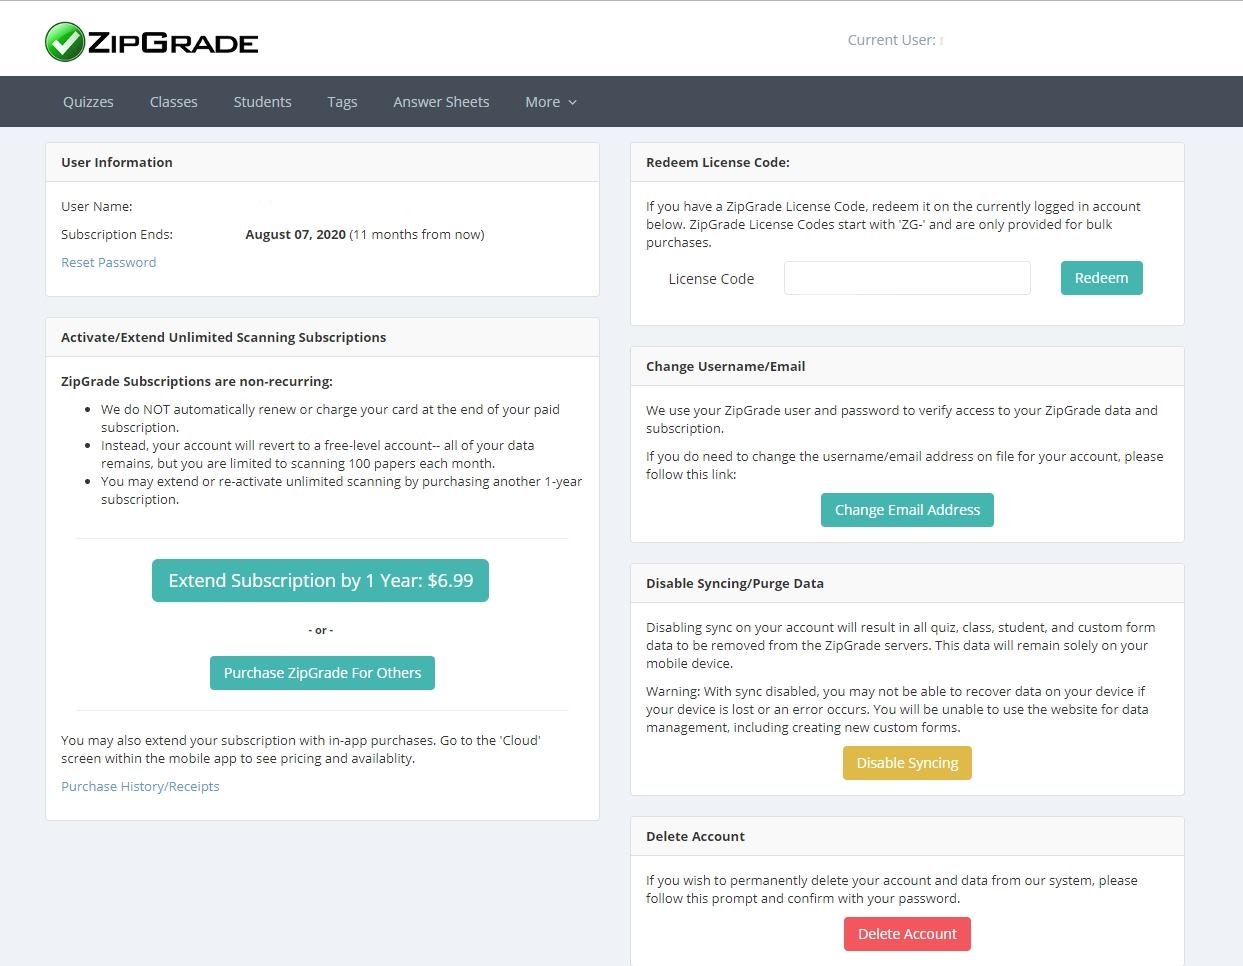
STEP 1 – Subscribe to ZIPGRADE
Install ZIPGRADE on your Mobile Device and Go to ZipGrade.com and create an account. It is advisable to subscribe for the whole year for UNLIMITED SCANNING.
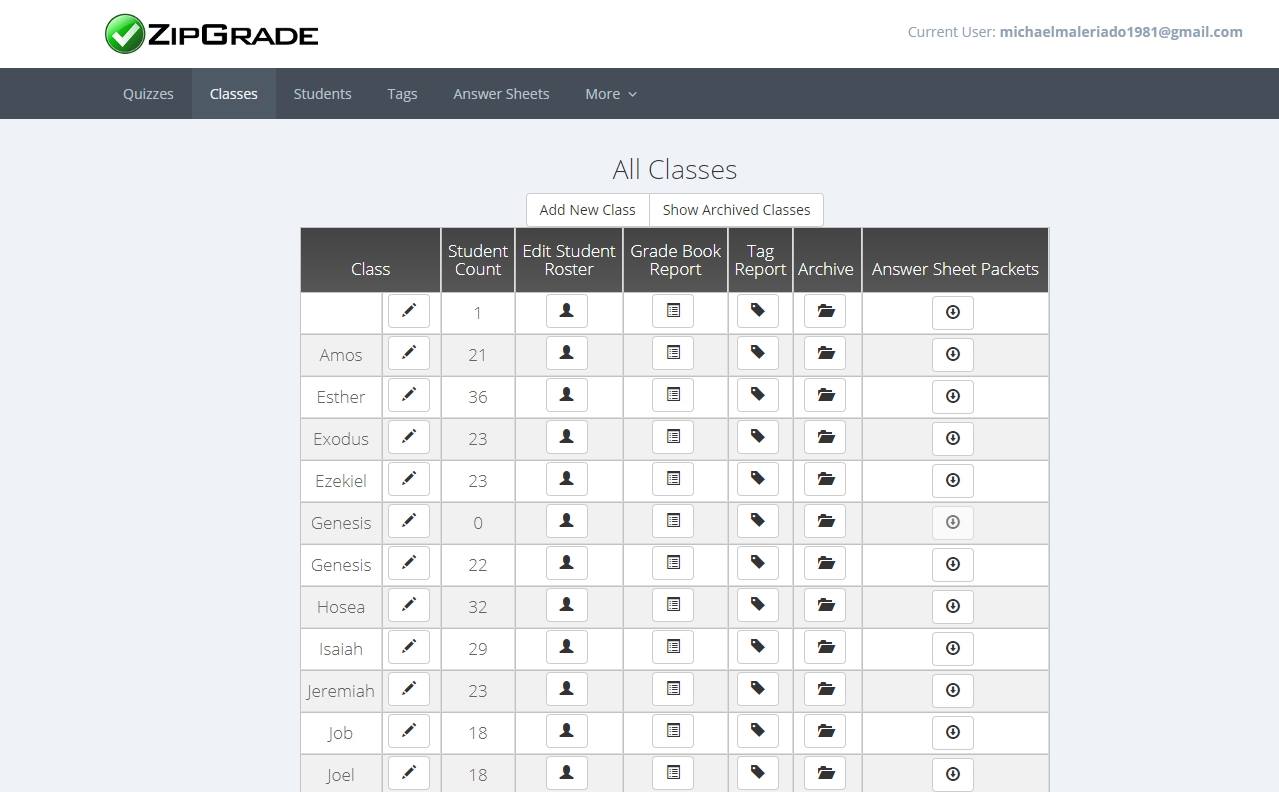
STEP 2 – Create A Class, Add Students, and ZipGrade ID
Click on CLASSES and Add New Classes. This is very important to make your organize your ZipGrade. I am sharing this account with my colleague. That is why we have more sections added.
Now it’s time to ADD STUDENTS. You can either add them MANUALLY or import the names using an Excel CSV File. The reason why this is important is to have students have their own ZIPGRADE ID. It is advisable for each student to have their own unique Zipgrade ID because if you scan, it will go directly to their name as part of your personal record. For me, uploading CSV File is so much easier! Just click on the Sample File link on the page.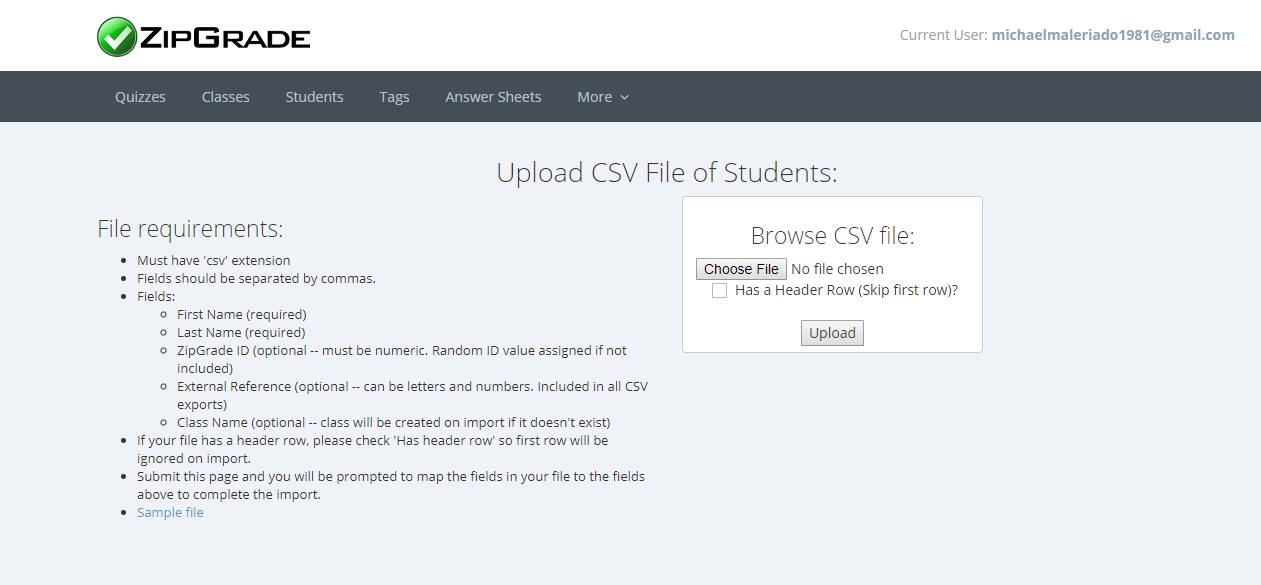
If you upload the CSV File, Zipgrade will automatically give the students their unique Zipgrade ID. It is also the same if you do it manually, but it just takes time. You can see that names with ID’s have their scores registered next to their name in this photo.
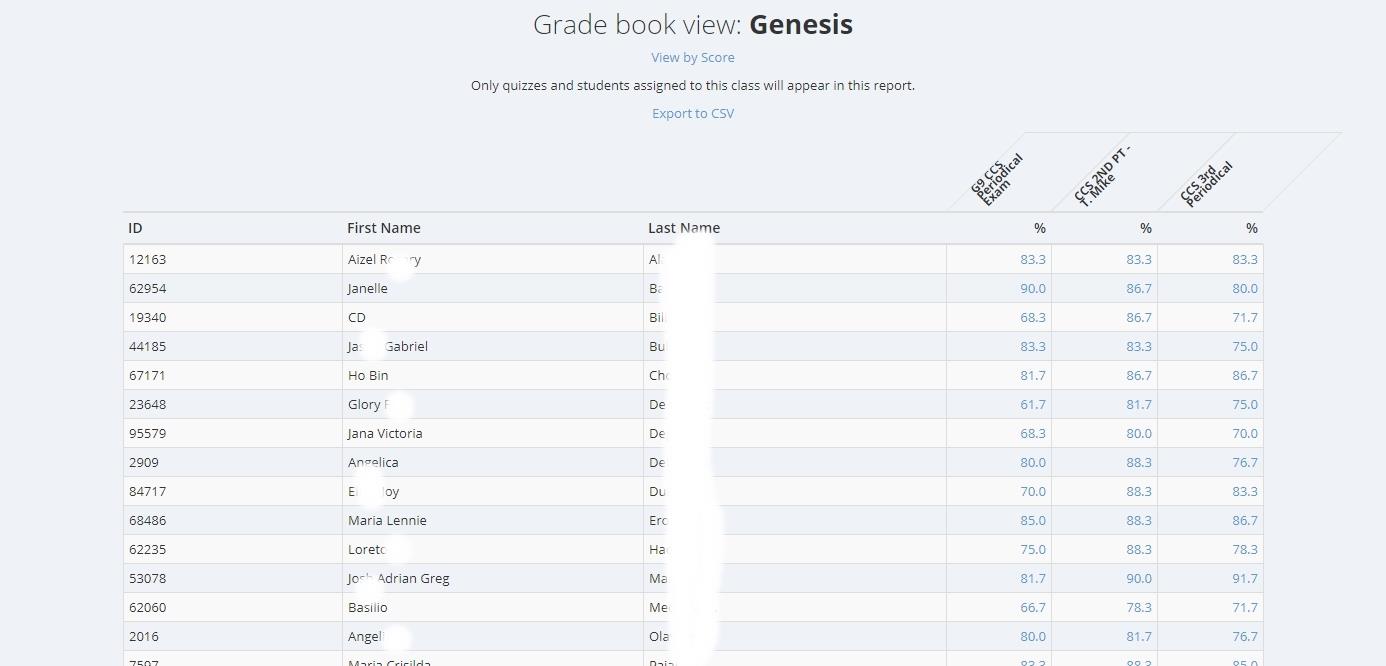
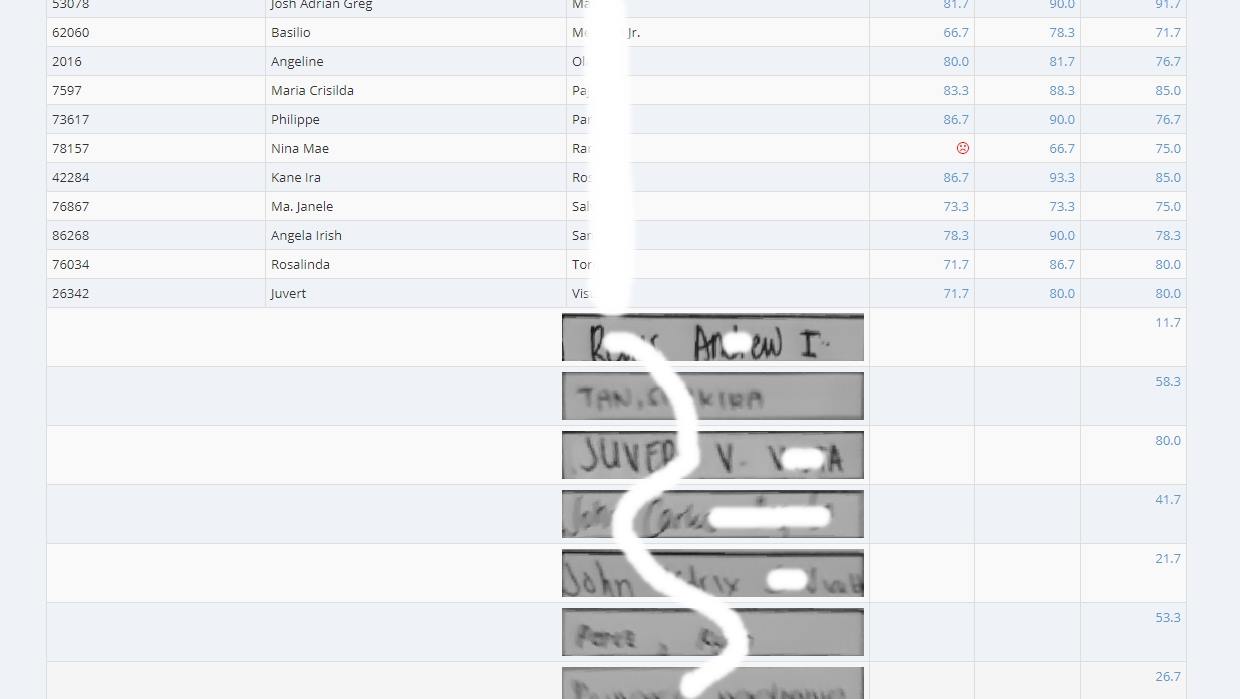
If there is no ID given, ZIPGRADE will take a photo of the Name of the students. So if you will compare the two, the one with ZIPGRADE ID is so much better!
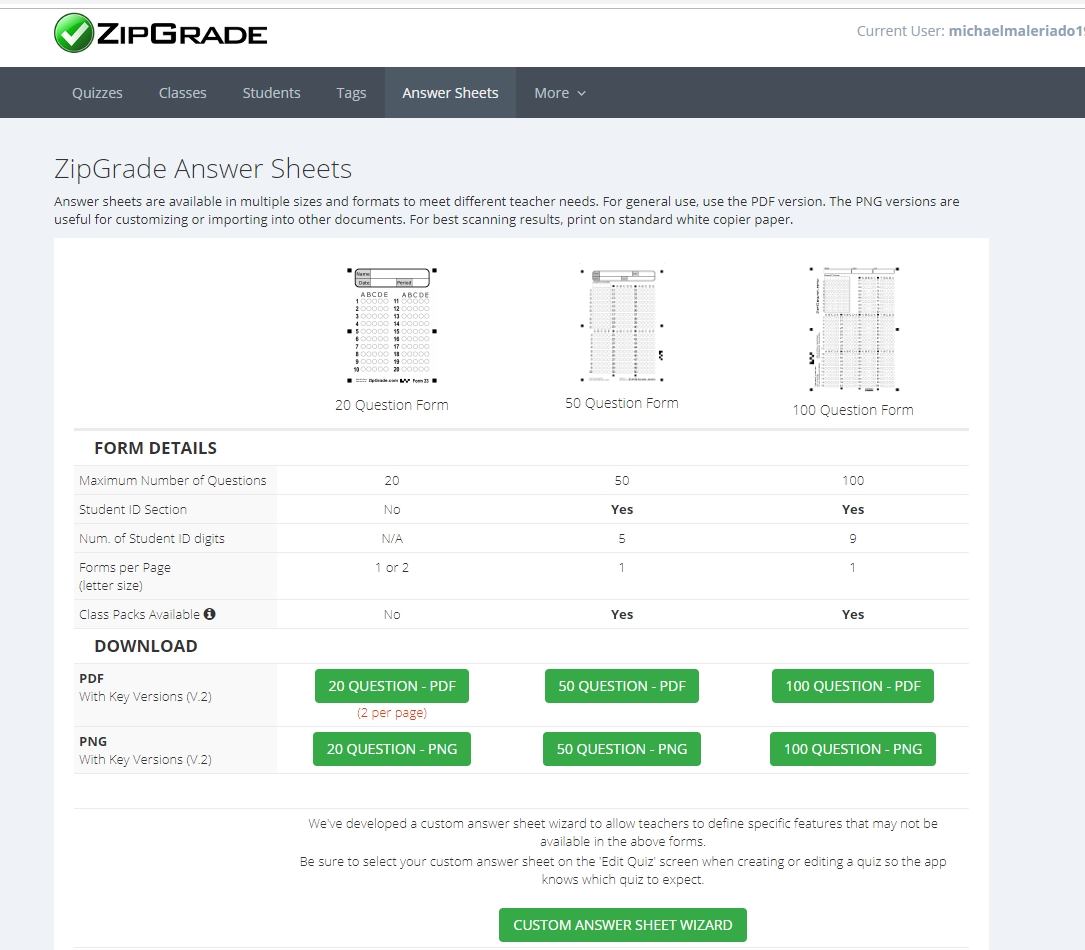
STEP 3 – Create an Answer Sheet
There are ready-made Answer Sheets from 20 to 100 Questions. But since I have a ZipGrade ID and I want my own version, I always do the CUSTOM ANSWER SHEET. Here’s how to do it. First, click on the CUSTOM ANSWER SHEET WIZARD.
Name your answer sheet. This name will appear on the right side of the paper.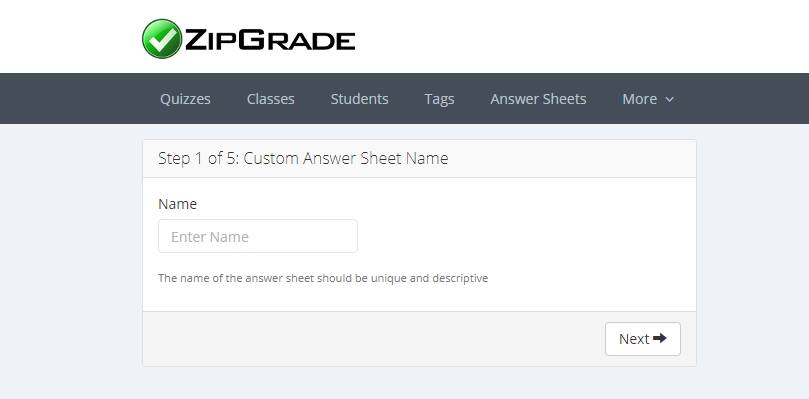
Customize the Head Boxes. I normally change the Quiz to SCORES and Class to SECTION. It’s really up to you how you want it to look. You can experiment, and if you don’t like it, you can always undo the final output.
You may also want to read: Step by Step Guide to Checking Students’ Attendance using QR Codes.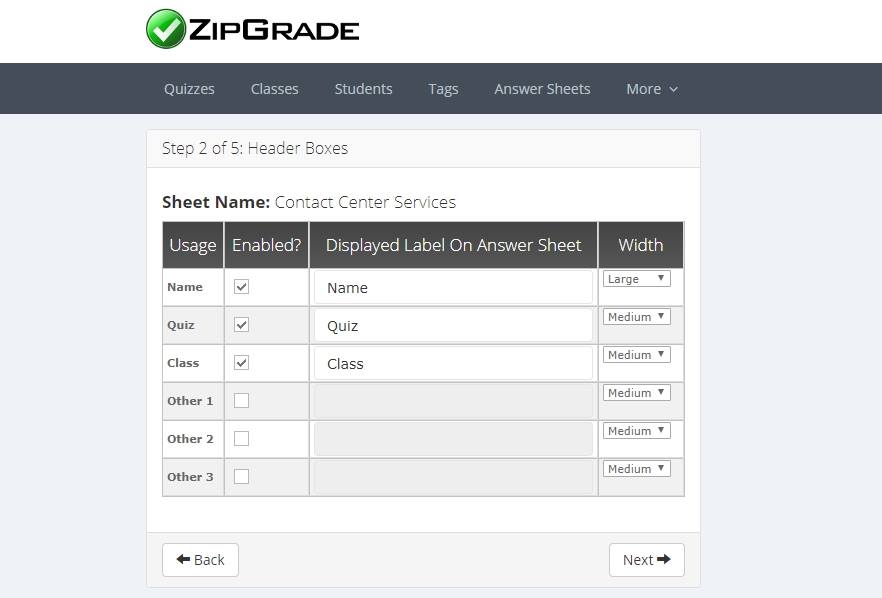
Next step, click on the MULTIPLE CHOICE QUESTIONS and Indicate the total number of items. For example, for our school, we have a 60 item exam.
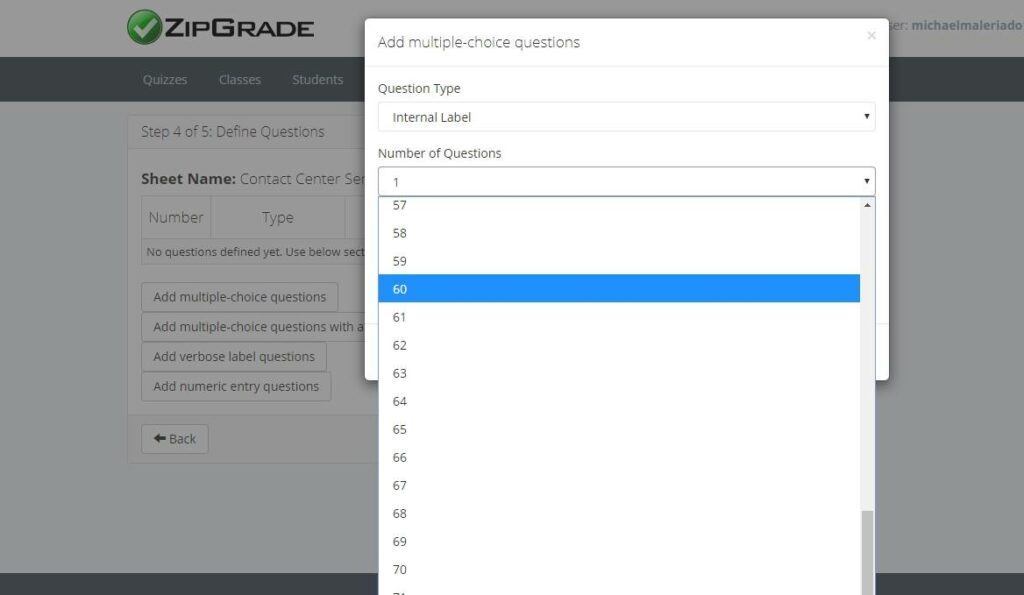
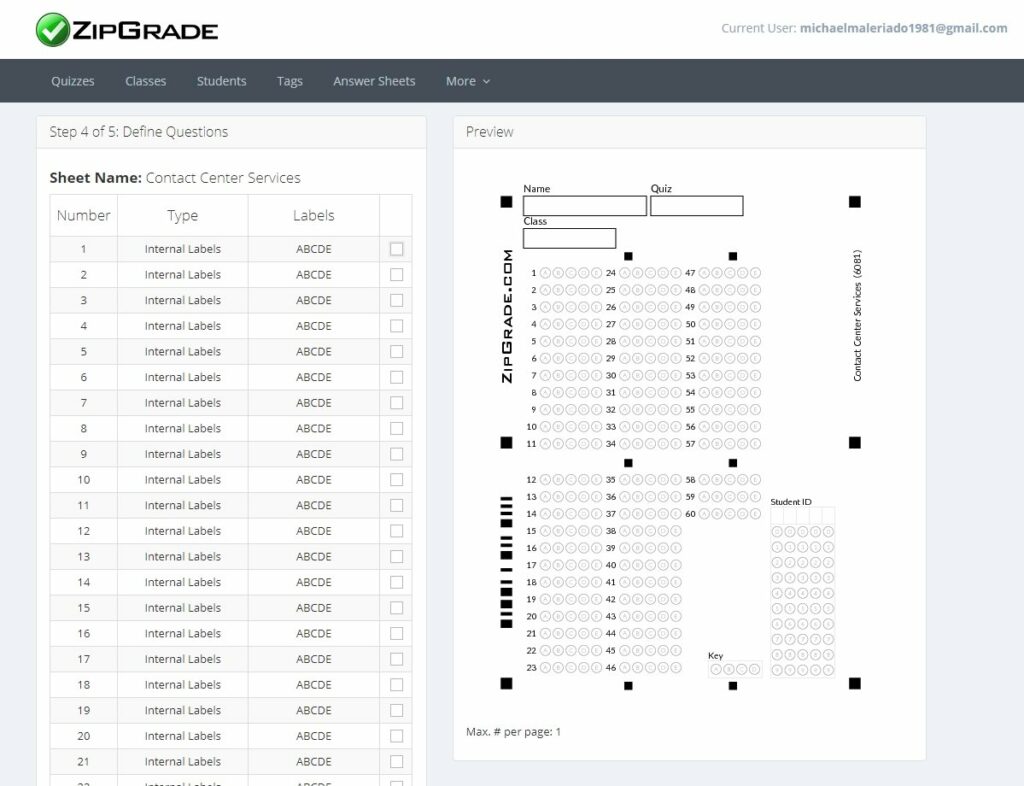
After choosing the total number, click the OK button or Generate to see what your answer sheet looks like. Again, if you want to make any changes, you may also go back. If not, then proceed and PUBLISH! There you already have your customized answer sheet!
Step 4 – ZipGrade Mobile APP
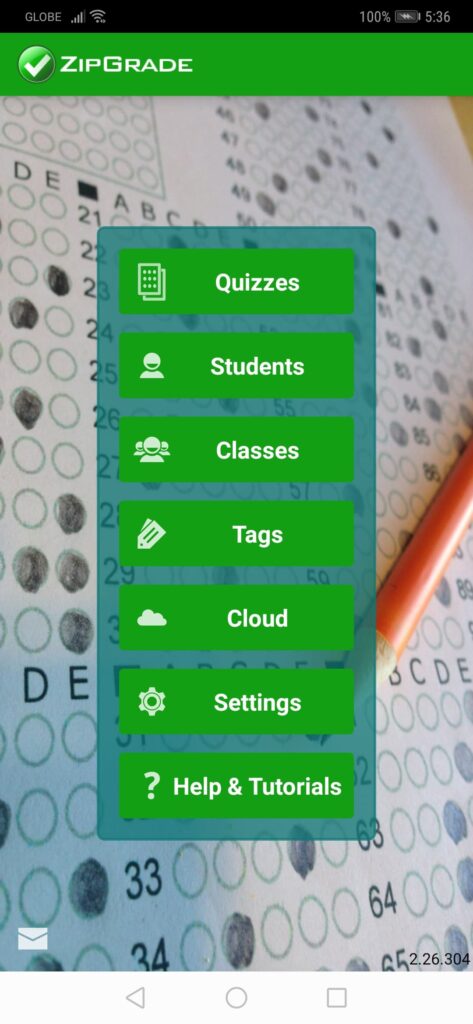
Now, get your mobile device and open the ZipGrade App. Click on QUIZZES and create one. Just remember that your mobile and desktop computer must be connected to the internet for the records to be synced together.
You don’t need to be connected to the internet when scanning, but you must be connected to the internet if you want to see your desktop results.
STEP 5 – Create a NEW QUIZ (Mobile)
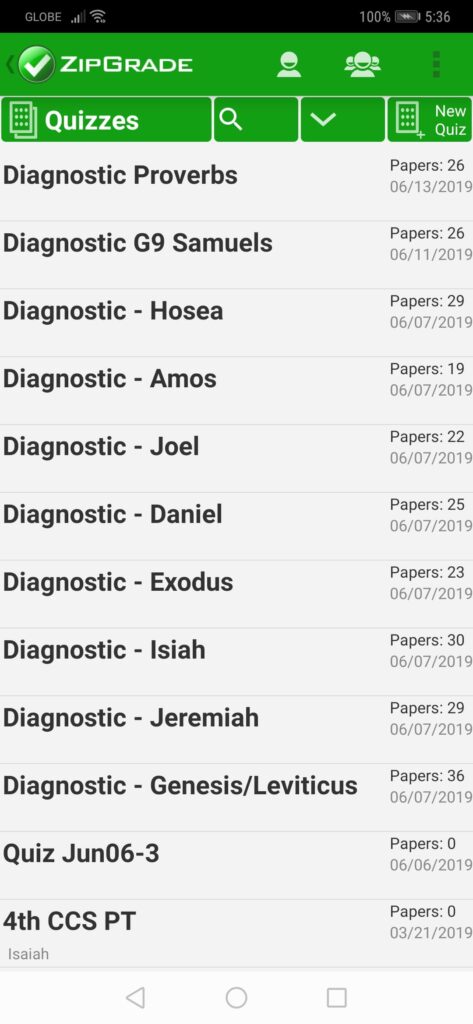
Under Quizzes, click on the NEW QUIZ to Create a New One.
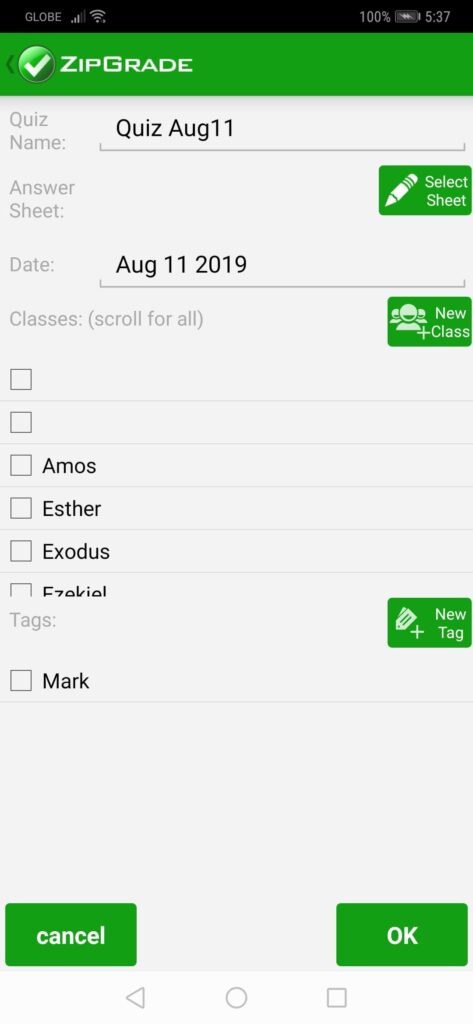
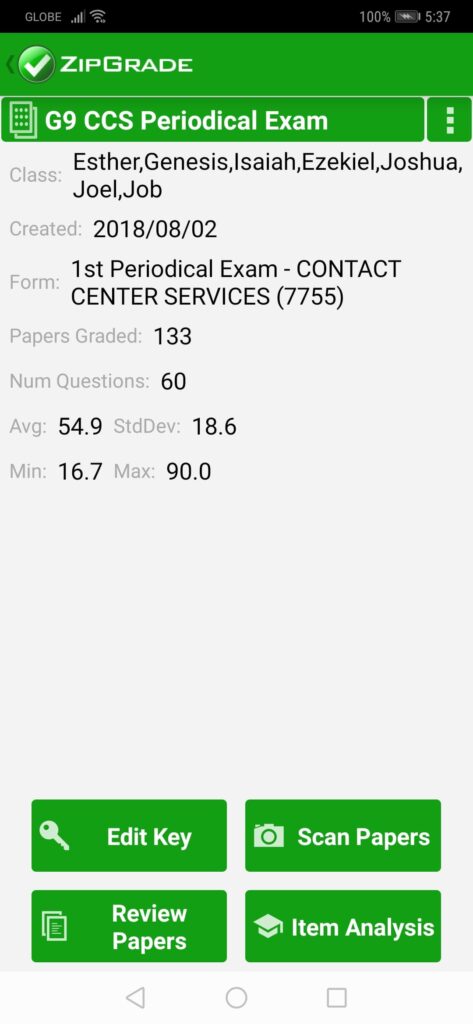
Edit QUIZ NAME and click on all the classes that you have for that particular exam. Click on SELECT SHEET and look for the Answer Sheet CODE NUMBER written on the right side next to the Answer Sheet Name.
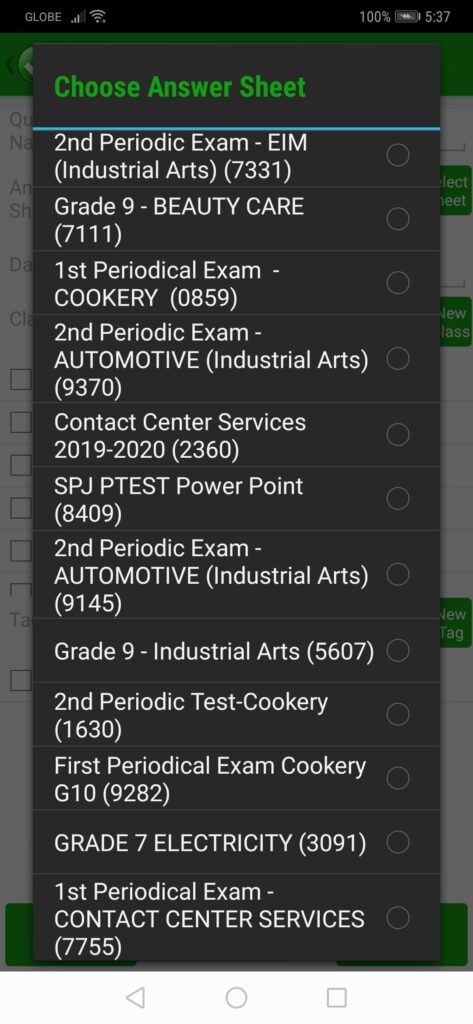
Look for the CODE and select the sheet based on the bubble sheet code. On the photo, I am choosing 7755, where the Answer Sheet Title is 1st Periodical Exam – Contact Center Services.
You may also want to read: PLICKERS | A Step by Step Tutorial Guide
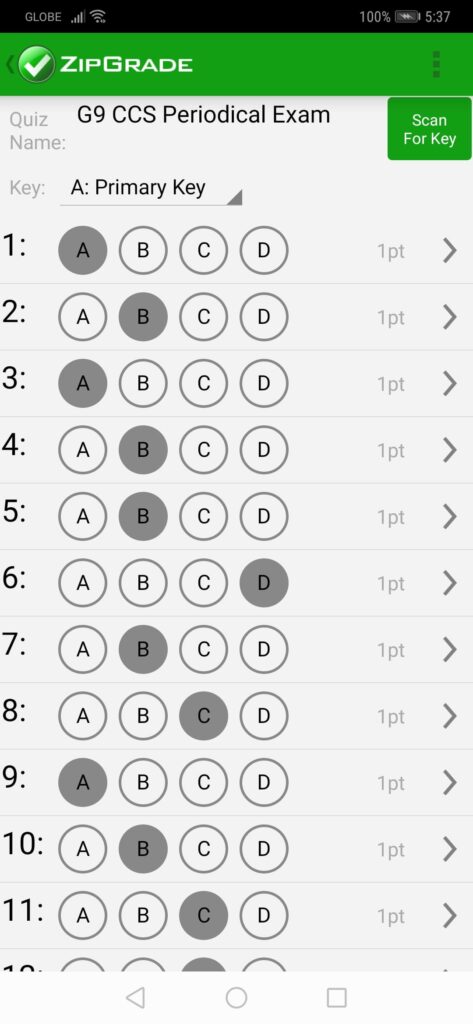
Once finished, click on the EDIT KEY and key in your answer key for your quiz. If you find it difficult, click on the SCAN FOR KEY. Print the Bubble Sheet with the correct code and shade your answers on the paper and SCAN. There you will see that all the answers are already marked up to the total number of items you have.
Once you have the answer sheets ready, click on the SCAN PAPERS and start scanning the answers of the students! Once you scan, you will already see the results of the multiple-choice questions. It’s really fast!
In the photo below, you will see 4 Small Squares on the mobile phone. Place your mobile phone on the squares found on the edges of the bubble sheet for the papers to be scanned correctly.

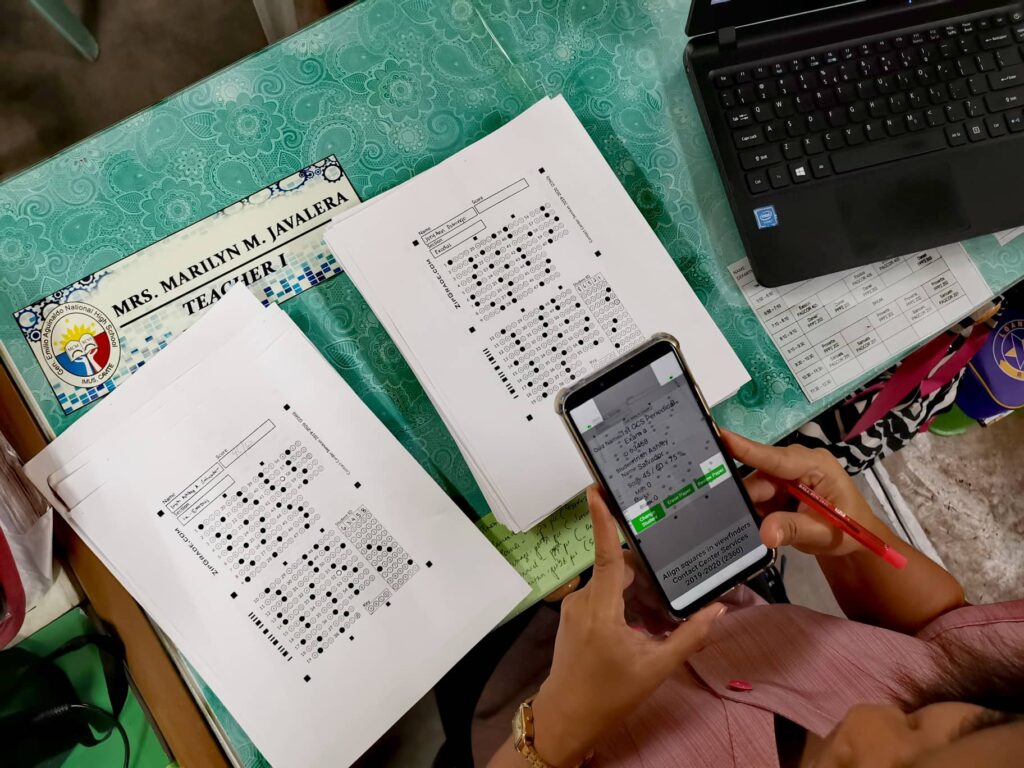
While scanning and connected to the internet, the results will also appear on your desktop. It’s actually that easy! You can check on the ITEM ANALYSIS on the phone, but it is so much better to look at it on the computer.
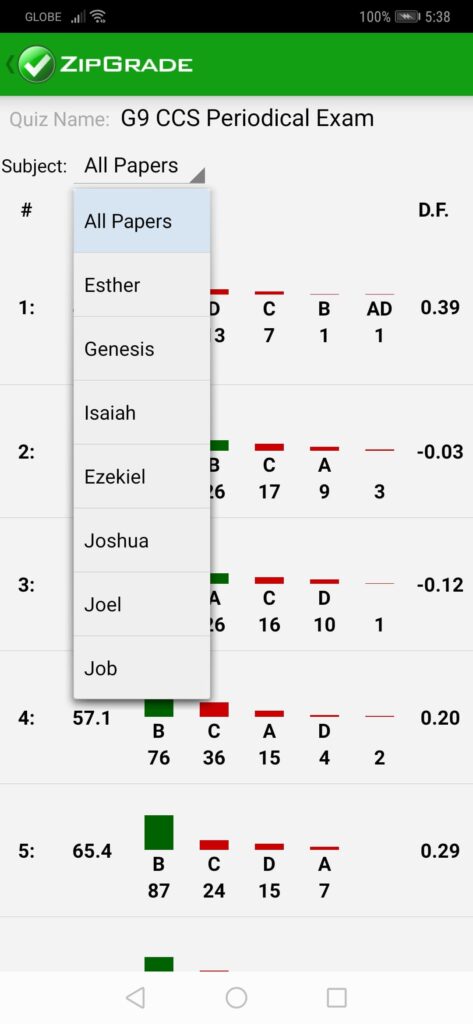
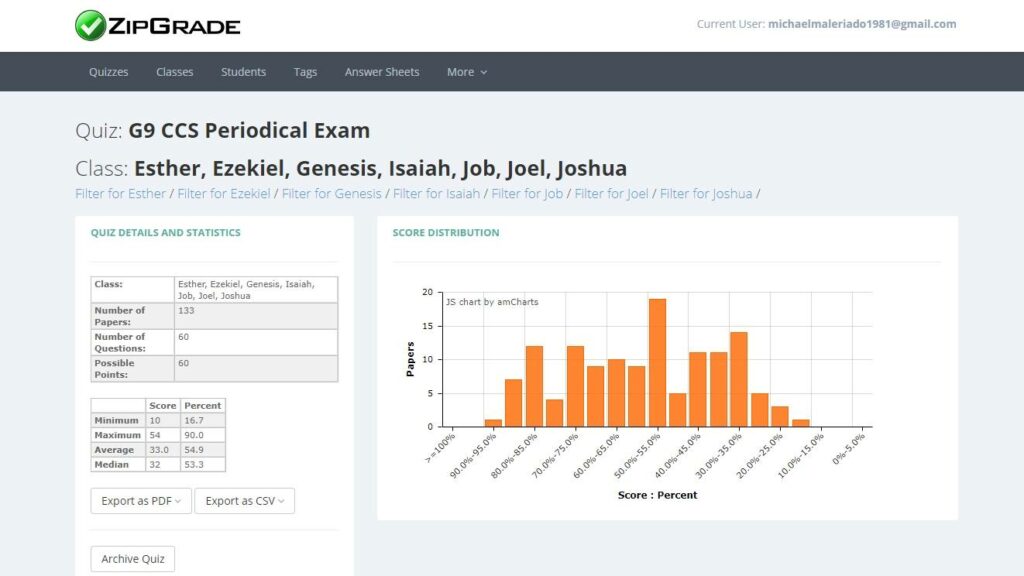
Once they all have been checked, you can look at more details on your computer like the statistics, score distribution, item analysis, and more. You can also export the data in PDF and also in CSV Format.

I hope this helps you with the basics of using ZipGrade. This really helped us a lot in checking multiple-choice questions, and for the subscription price, it is very affordable. The results are so much faster, very accurate, and teachers could do more besides checking test papers.
When I asked how to do it before, I always share this video from Happy Hippie Teacher Teacher Tutorials.